What Is Painting With Light?
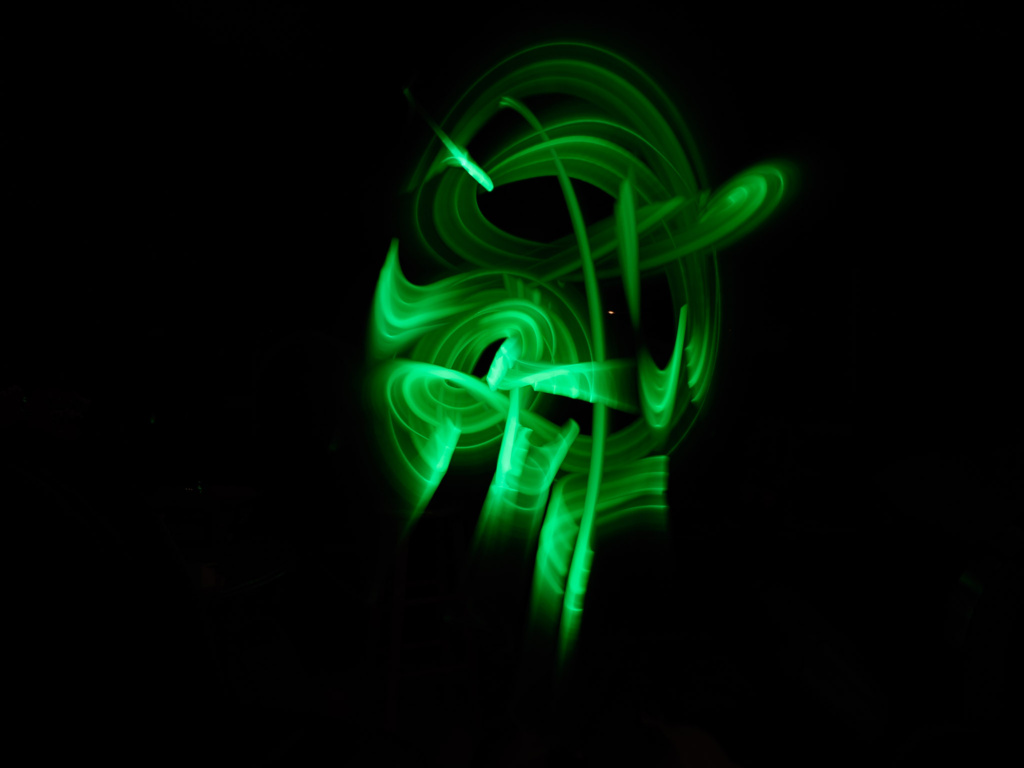
Painting with light is a photography technique that uses a long exposure and a moving light source to make an image that looks like it has light trails in it.
Traditionally, you can use a long exposure time (Bulb mode) to do this, but the OM-1 Mark ii has a setting called “Live Composite” that makes it possible to watch the image being created that is totally worth trying.
Gear I Used
- OM-1 Mark ii
- M. Zuiko 90mm f/3.5 Macro IS PRO
- Three Legged Thing Bucky Tripod
- Light Saber
- Fairy Lights tied to pipe
When I say learning to paint with light, I’m actually talking about me. I’m the beginner.
Setting up the Scene for a Light Painting
First things first, you need a tripod or something to put the camera on. Any hand held shutter speed below about 1/60-1/100 will start to affect the sharpness of the image due to the movement of the person holding it. It doesn’t have to be on a tripod but you can’t hand hold a long exposure.
I used a tripod.
Secondly, you need to understand the light in order to make it work. You need to make sure the ambient light doesn’t overpower the lights that you have. This could mean you underexpose your image, or you could do it with low lighting.
I took my images at night indoors with the overhead lights off in the room I was in and I had the lights on in the next room so I could see what I was doing.
Setting Up the Camera for Live Composite
When I tried to do this, I couldn’t figure out how to set it up. I thought it would be in the menu, like the other computerized features of the OM-1 Mark ii but it isn’t, it’s hiding. I ended up looking it up so you don’t have to.
You have to switch the camera mode dial to “B” for Bulb.
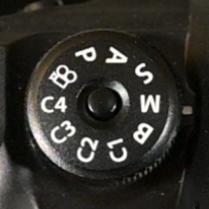
Then you need to turn the rear dial (where you normally switch the shutter speed) until you find ‘LiveComp’. There are only 3 choices, Bulb, LiveTime, and LiveComp.
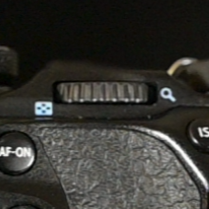
The camera will prompt you to “press the shutter button once to prepare for composite shooting”. This does NOT start the picture. First, press the menu button to set the base exposure time. This can be set anywhere between 1/2 second and 60 seconds and determines how much light the final image has. The longer the time, the more light the camera can pick up.
Next, set your focus.
THEN press the shutter button once to set the base exposure without any of the lights added, and to “prepare for composite shooting”.
Start the process by pressing the shutter again. Move the lights around in your image, or have your kids swing their light saber around. You’ll be able to see the image being created on your screen as it is happening.
Press the shutter one more time when you are done to complete the image.
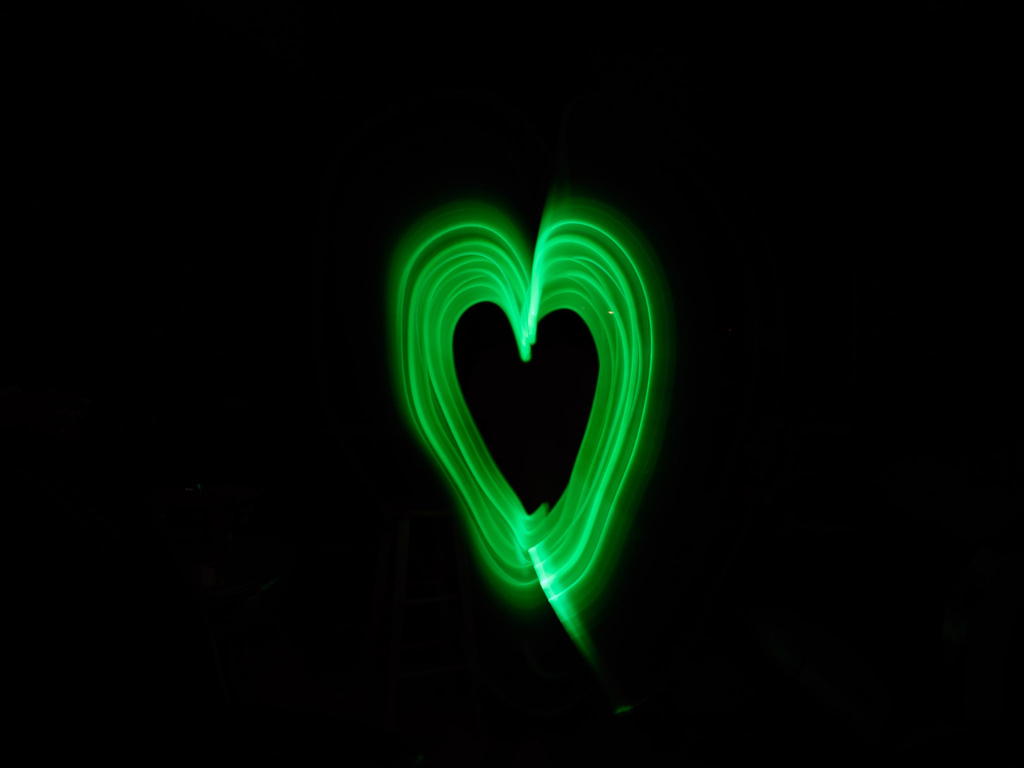
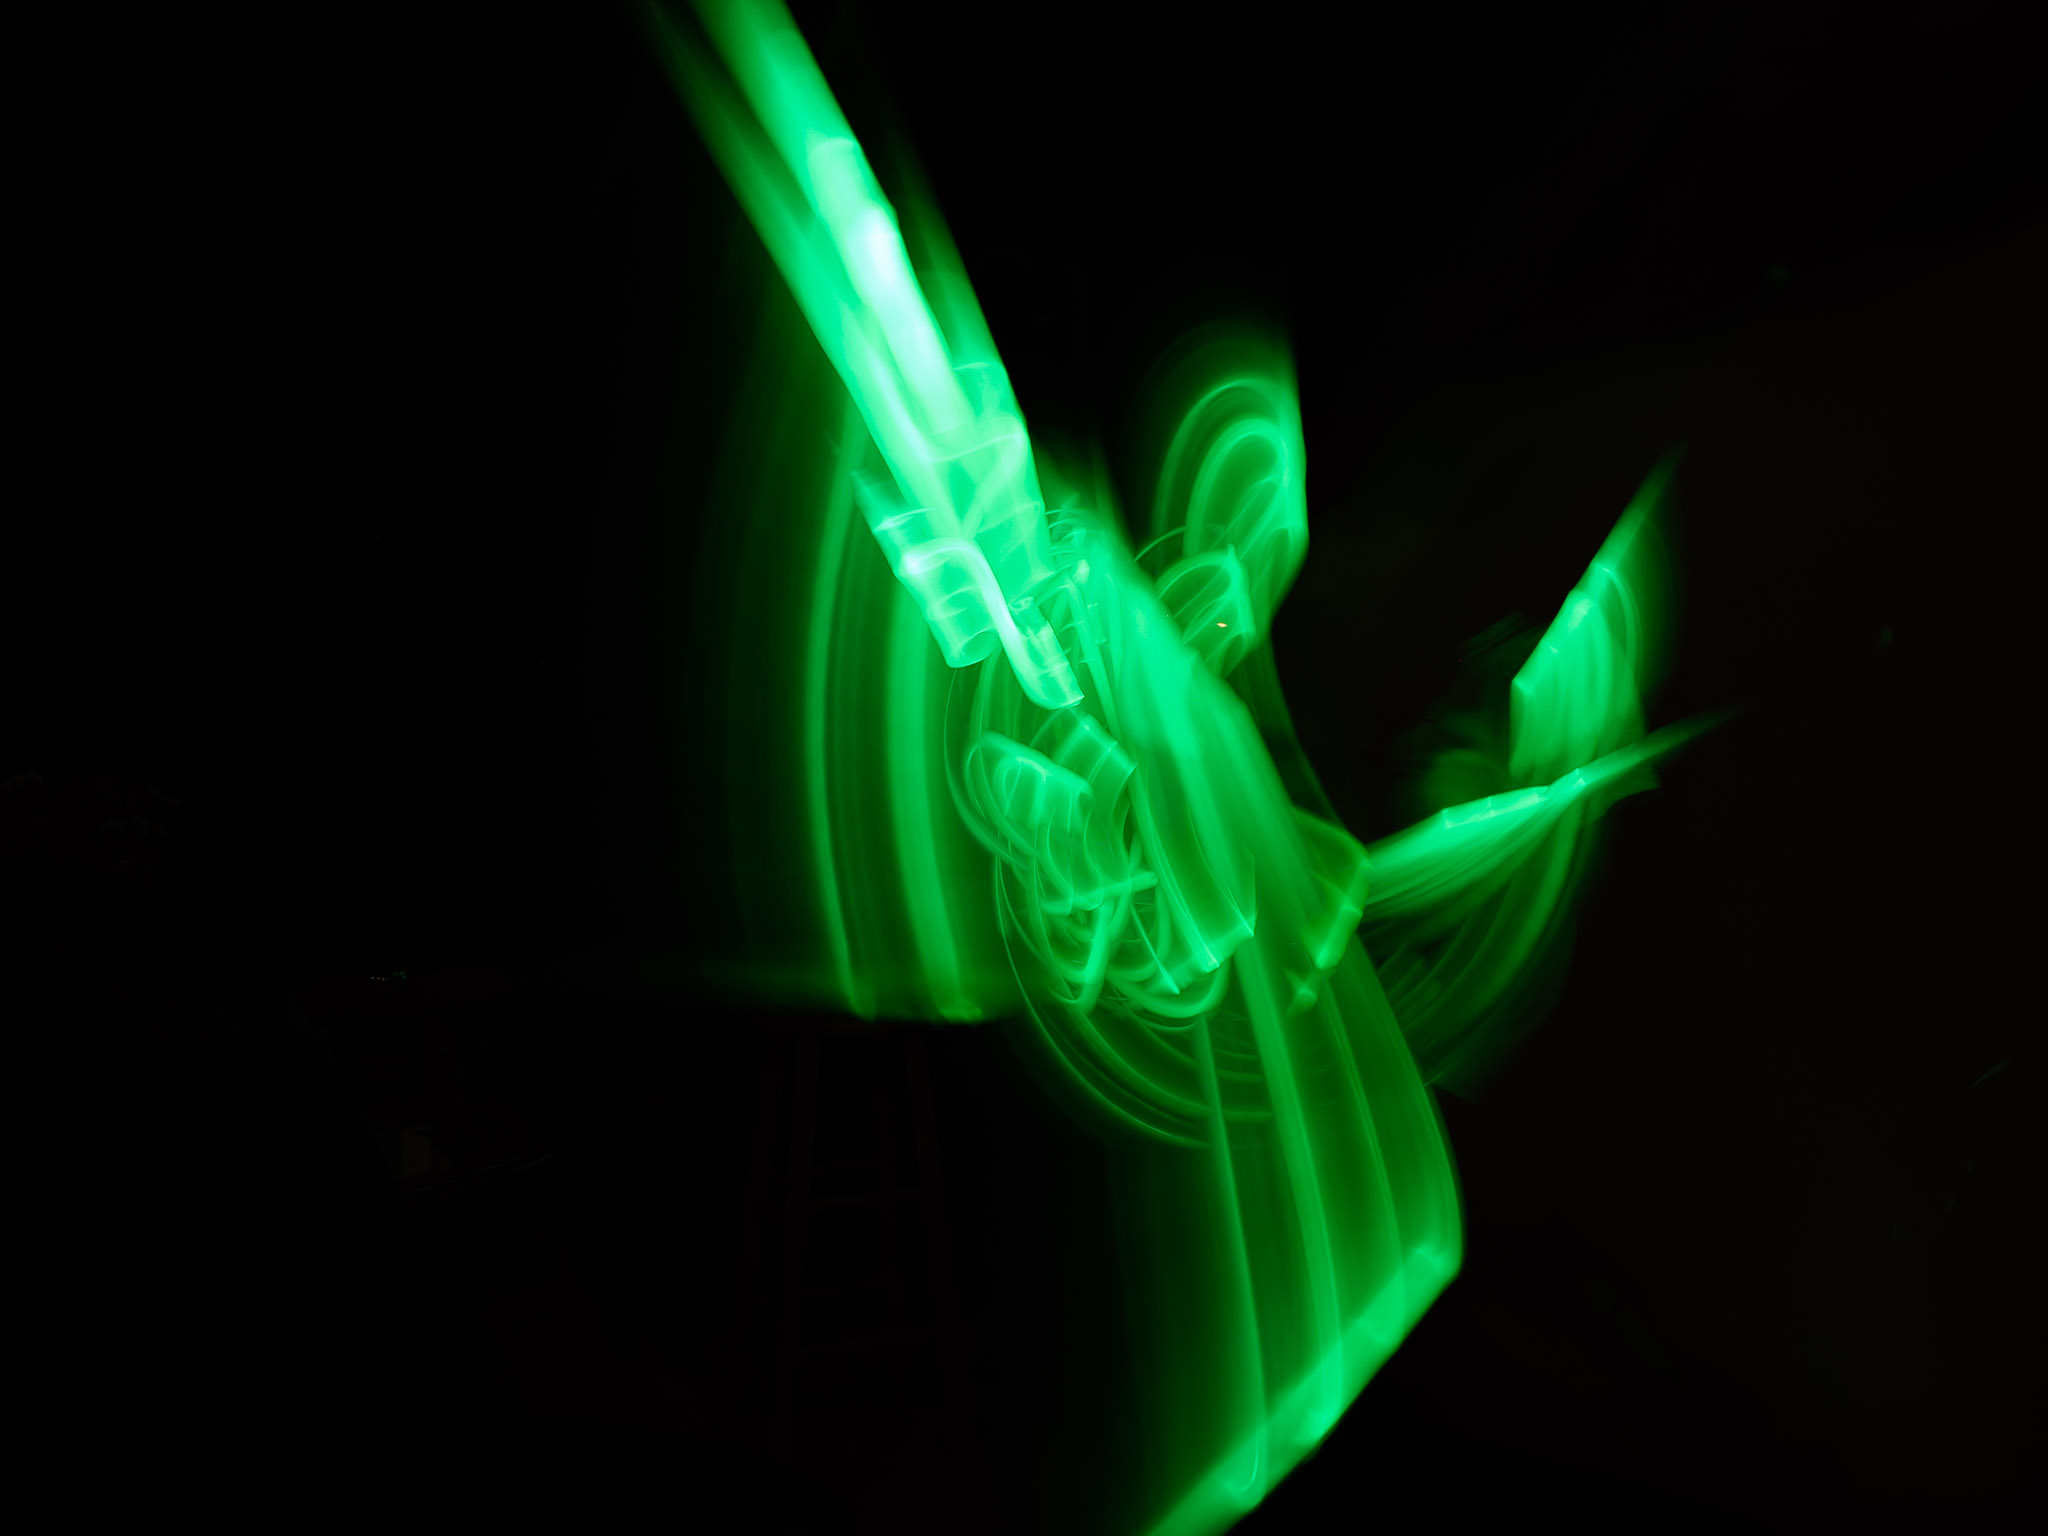
Lighting: Light saber
Settings: F/8, ISO 200, LiveComp Mode 1/2 second ea
Would you do light painting again?
Yes! It was really fun with the kids!
-Me
Today’s Gallery
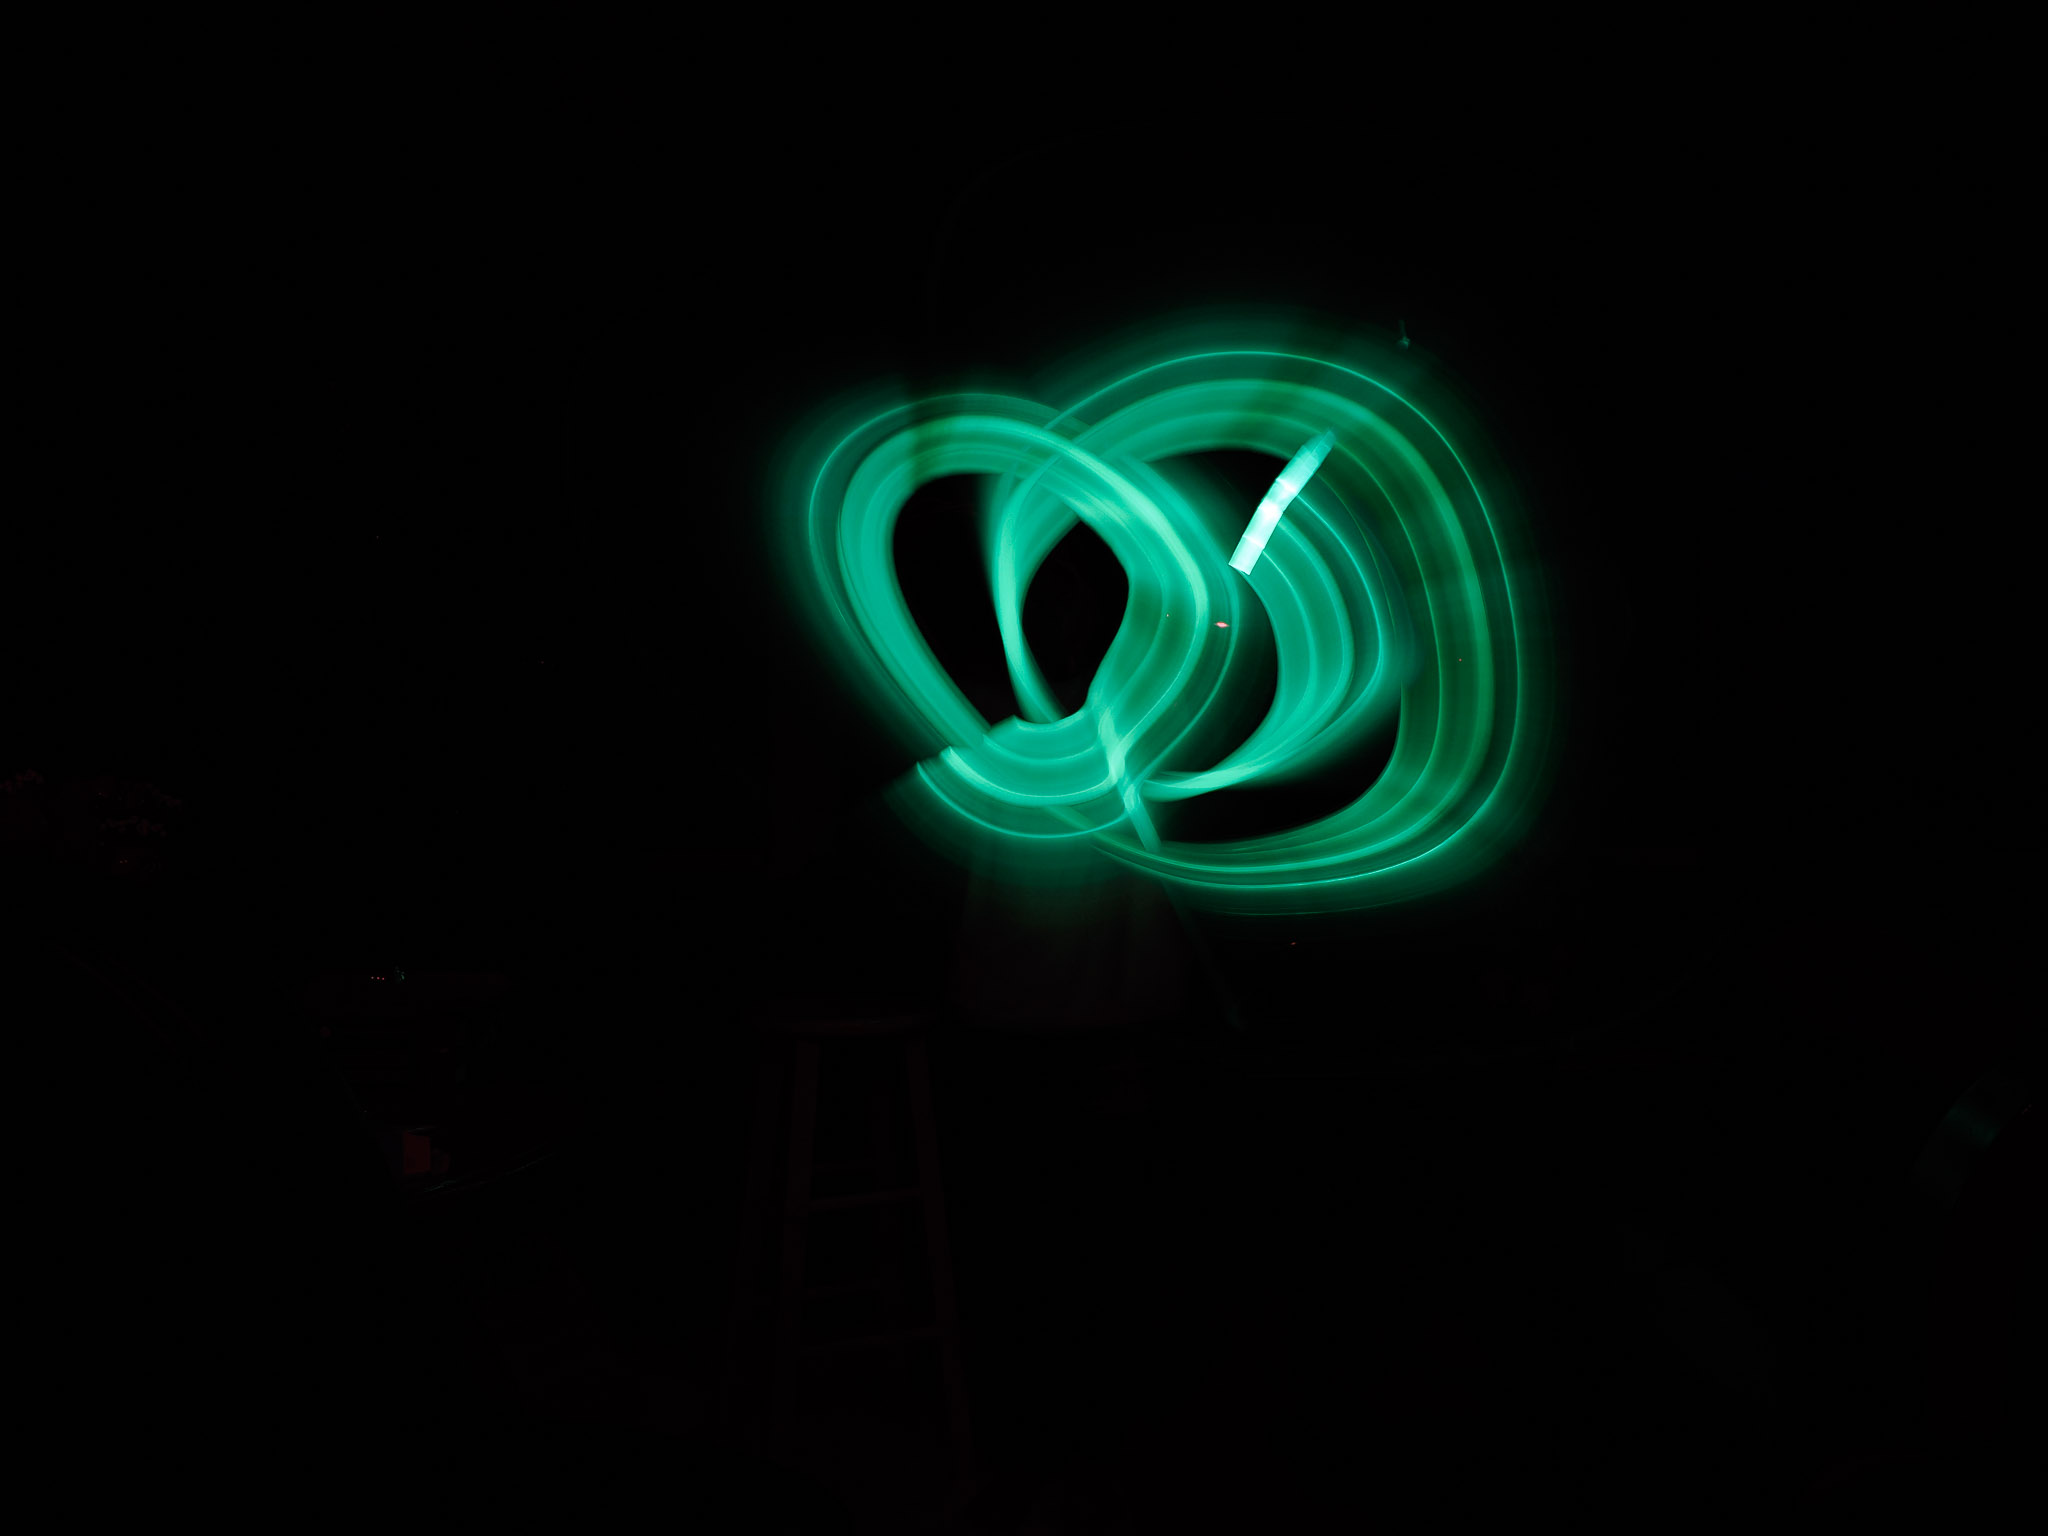
Exploration
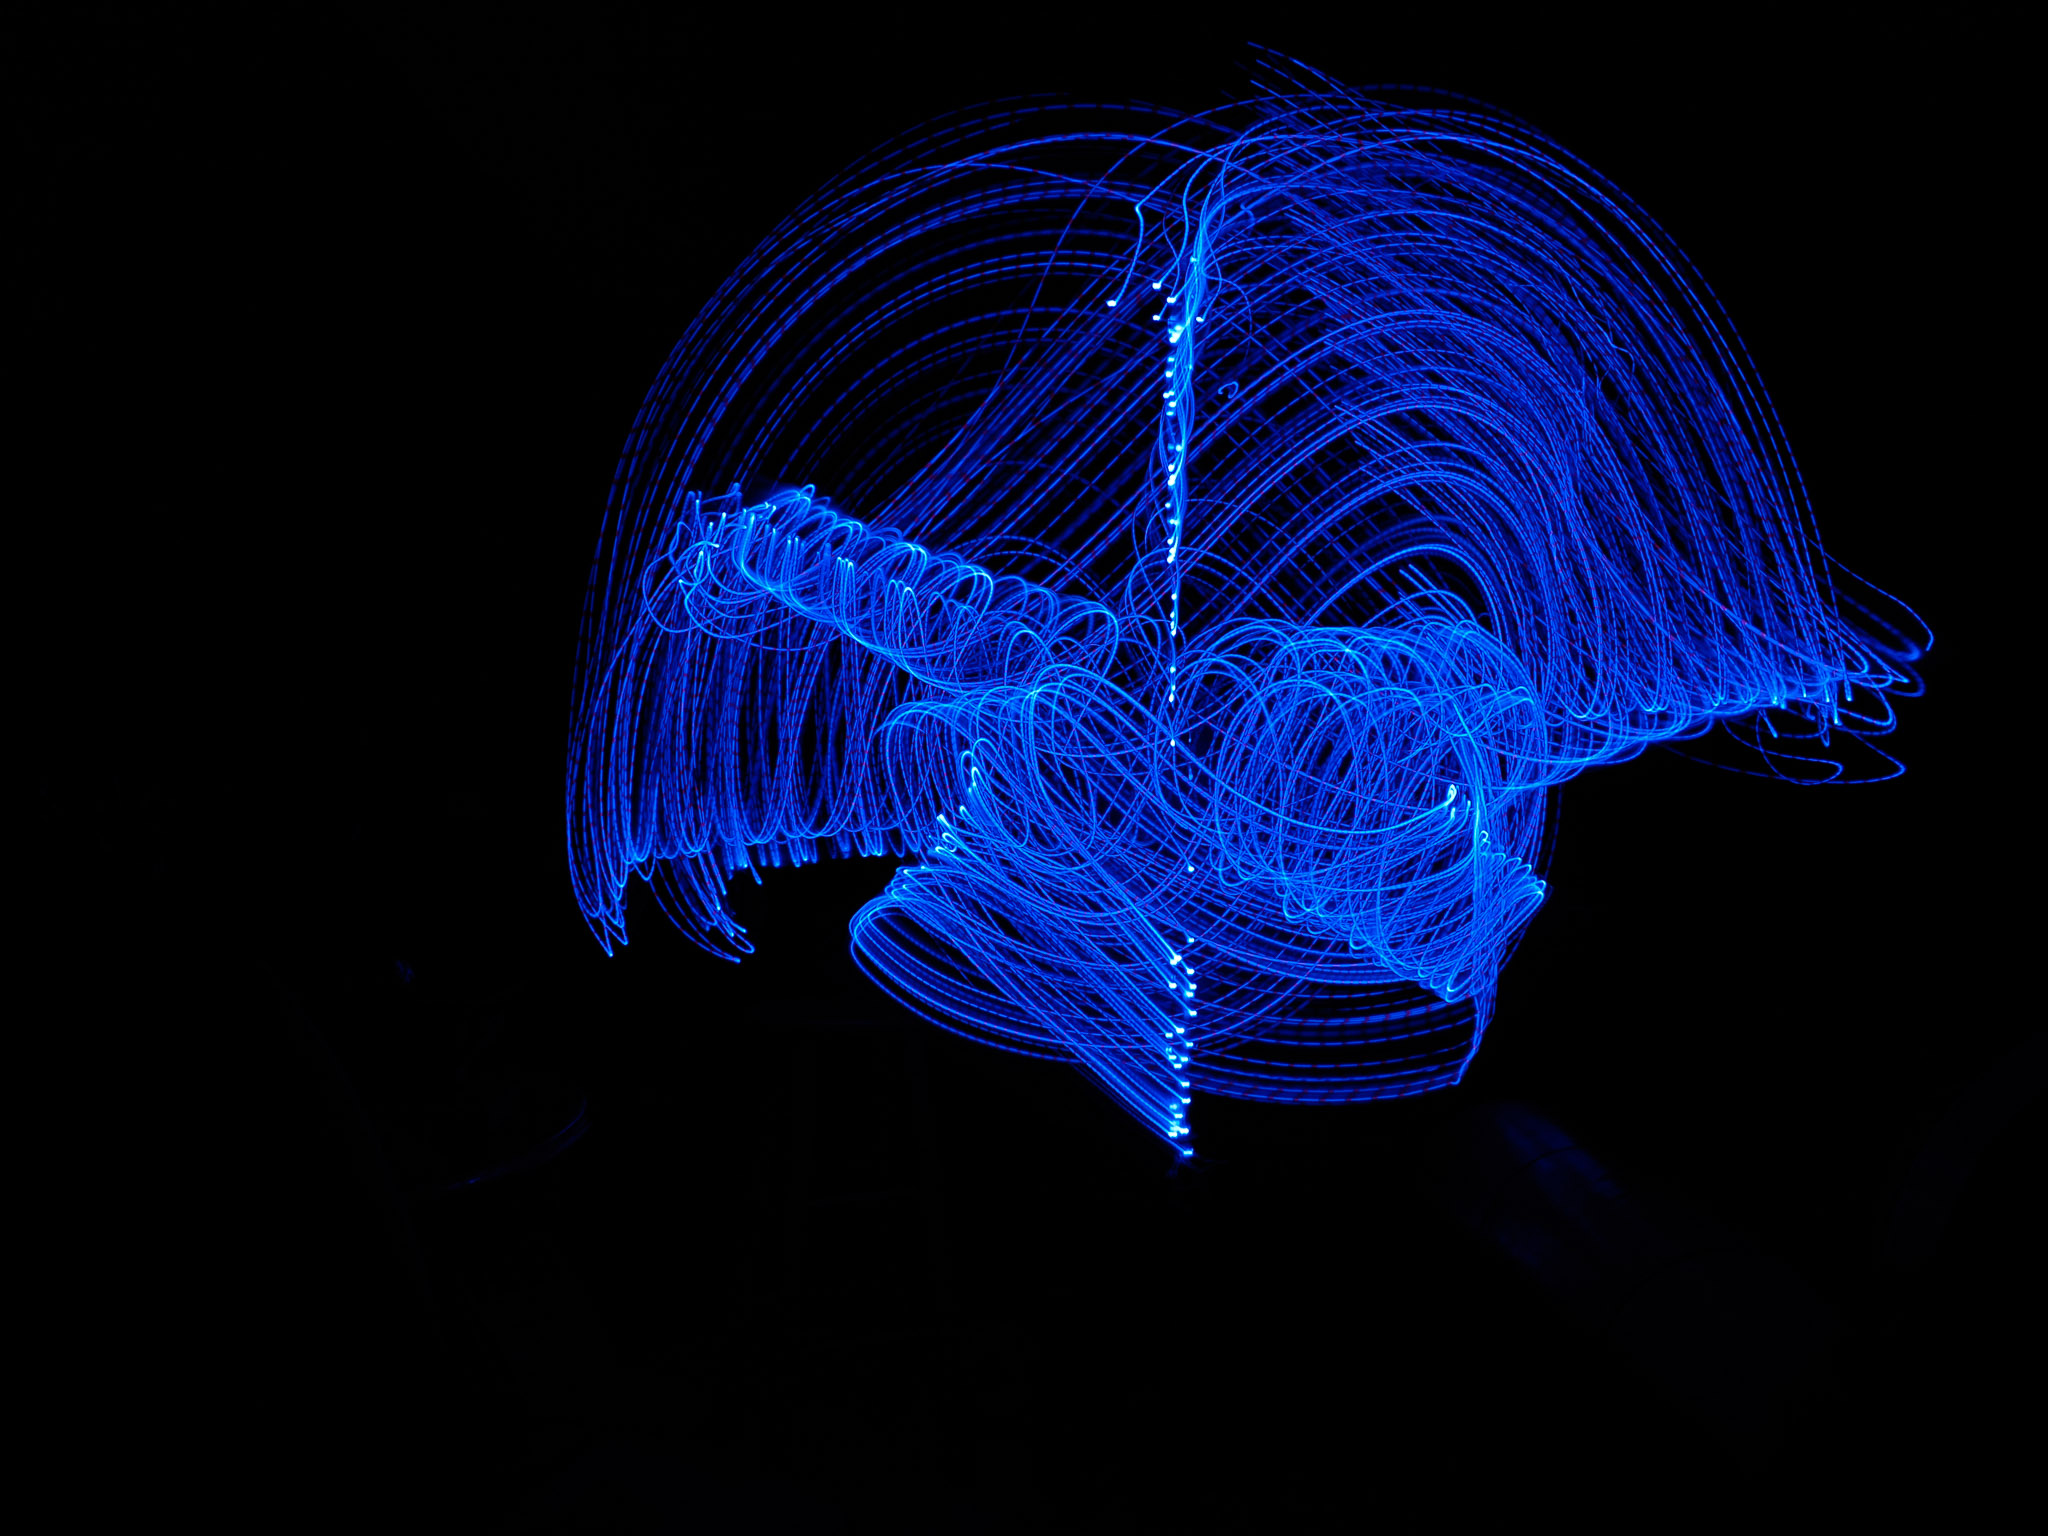
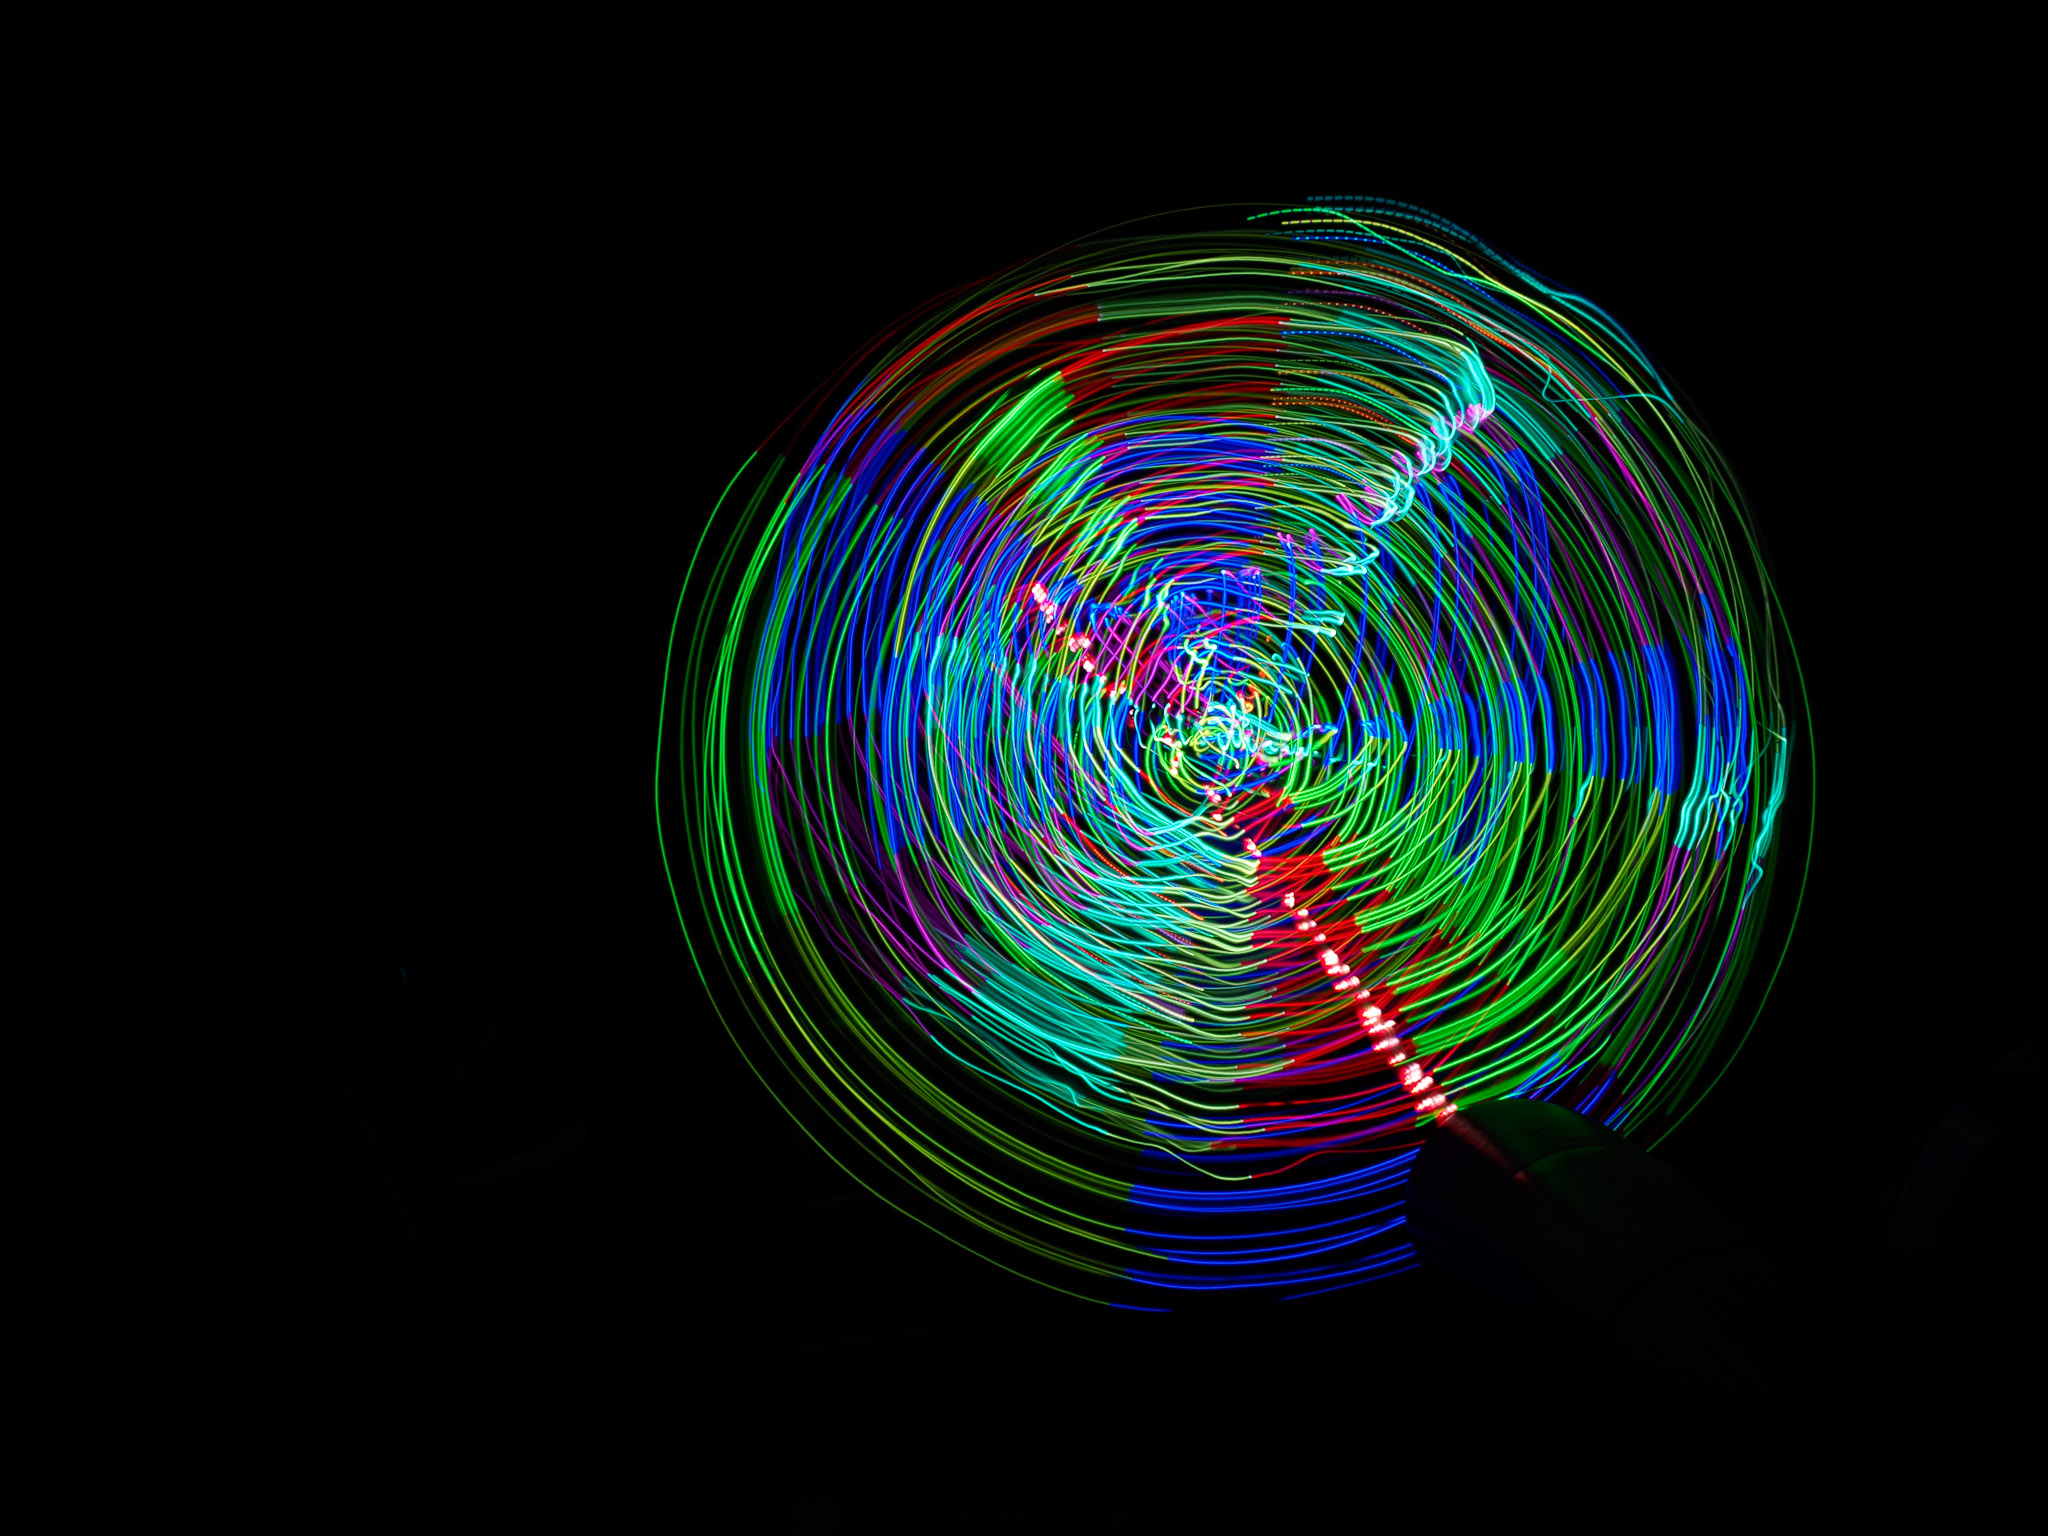
We played with a few types of light. We started with a light saber, and switched to a string of fairy lights that changes color. We tried a cell phone and it didn’t work.
There really wasn’t any losing here. They’re not pictures that would win any awards, but they’re so much fun. I can see these as a good “party trick”.
We already have plans to make more images, trying it with a subject in the picture, with different types of light including different color panels, trying firelight, and during daylight to see what happens.
This is a good opportunity to use a remote shutter so pressing the shutter release doesn’t shake the camera at all.
Here are some resources:
- OM System’s page with lots of Live Composite information and videos.
- Susan Magnano’s YouTube video did a great job explaining techniques.
Take time to explore. You don’t know what you’re missing!
Happy Creating!


